Your heating and cooling system is the single largest energy consumer in most homes, accounting for nearly half of a typical utility bill. Yet most homeowners treat HVAC maintenance like an oil change: something you put off until something sounds wrong. That’s expensive. A well-maintained system runs 15-20% more efficiently, breaks down less often, and lasts years longer. The good news? Many essential maintenance tasks don’t require a technician’s license or specialized tools. With a couple hours twice a year, homeowners can handle the bulk of routine HVAC upkeep themselves.
Table of Contents
ToggleKey Takeaways
- DIY HVAC maintenance can improve system efficiency by 15-20% and prevent costly emergency repairs that cost 2-3 times more than scheduled service.
- Changing your air filter every 30-90 days is the single most important HVAC maintenance task, with correct airflow direction and proper sealing essential to avoid efficiency loss.
- Cleaning your outdoor condenser unit twice yearly (spring and fall) prevents 20% efficiency loss and extends compressor lifespan by maintaining clear airflow and straightened fins.
- Drain line maintenance using distilled vinegar every 3-6 months prevents water damage and system shutdowns caused by algae clogs and condensation backup.
- Keep a maintenance log with dates, tasks, and photos to document DIY HVAC work and protect your warranty coverage without paying for professional service calls.
- Call a licensed technician for refrigerant issues, electrical troubleshooting, gas furnace inspections, and annual tune-ups, while handling filter changes, condenser cleaning, and drain flushing yourself.
Why Regular HVAC Maintenance Matters for Homeowners
Neglected HVAC systems fail at the worst times, mid-July heat waves or January cold snaps, and emergency service calls cost 2-3 times more than scheduled maintenance. But the real cost is cumulative.
Dirty filters and clogged coils force the blower motor and compressor to work harder, drawing more amperage and shortening component life. A system running with a clogged filter can lose 5-15% efficiency within a single season. Multiply that across a decade, and you’ve paid for a replacement system in wasted electricity.
Regular maintenance also catches small problems before they cascade. A slow condensate drain leak might seem minor, but left unchecked it can rot floor joists, damage ceilings, or promote mold growth, repairs that dwarf the cost of a service call.
Finally, most HVAC manufacturers require proof of annual maintenance to honor warranties. Miss those filter changes or skip coil cleaning, and you may void coverage on a $1,500 compressor replacement. Keeping a log of DIY maintenance, dates, tasks completed, and photos, provides that documentation without paying a pro for basic tasks you can handle yourself.
Essential Tools and Supplies for DIY HVAC Care
Most HVAC maintenance requires tools already in a basic homeowner toolkit. Specialized equipment isn’t necessary for routine tasks.
Tools needed:
- Screwdriver set (Phillips and flat-head) for access panels
- Shop vacuum with hose attachments for debris removal
- Garden hose with spray nozzle for condenser cleaning
- Fin comb (optional but helpful for straightening bent condenser fins)
- Flashlight or headlamp for inspecting dark spaces
- Level to check condenser pad position
- Wet/dry vac for drain line clearing
Supplies to keep on hand:
- Replacement air filters in the correct size (check existing filter for dimensions like 16x25x1)
- Distilled white vinegar for drain line flushing
- Coil cleaner (foaming, no-rinse formulas work best for DIYers)
- Condensate drain tablets to prevent algae buildup
Safety gear:
- Work gloves to protect against sharp fins and sheet metal edges
- Safety glasses when working overhead or spraying
- Dust mask or N95 respirator when handling dirty filters or working in dusty spaces
Avoid buying coil cleaners that require rinsing if you can’t access both sides of the coil. No-rinse foaming cleaners designed for HVAC use work better for most homeowners. Most basic home maintenance tasks require similar preparation and documentation.
How to Change Your HVAC Air Filter the Right Way
Filter replacement is the single most important maintenance task, and the most commonly done wrong. A $4 filter changed monthly beats a $25 filter left in for six months.
Step-by-step filter replacement:
-
Locate the filter. Most systems have the filter in one of three spots: at the return air grille (often in a hallway ceiling or wall), inside the blower cabinet of the furnace, or in a separate filter housing between the return duct and air handler. Check all three if you’re unsure.
-
Note the airflow direction. Every filter has an arrow printed on the frame indicating airflow direction. This arrow must point toward the blower/furnace, away from the return duct. Installing backward reduces efficiency and can damage the blower motor.
-
Measure the existing filter if you don’t have replacements. Filters are sized in nominal dimensions: a filter marked 16x25x1 actually measures about 15.5×24.5×0.75 inches. Use the nominal size when ordering.
-
Choose the right MERV rating. Standard fiberglass filters (MERV 1-4) catch large particles but don’t improve air quality much. Pleated filters (MERV 8-11) balance filtration and airflow for most homes. Avoid MERV 13+ unless your system was designed for it, high-efficiency filters restrict airflow and can strain residential blowers not rated for the static pressure.
-
Change filters every 30-90 days depending on conditions. Homes with pets, smokers, or high dust need monthly changes. A clean home with no pets can stretch to 90 days, but check monthly. Hold the filter up to a light, if you can’t see through it, it’s time to replace.
-
Seal gaps around the filter frame. If the filter rattles or you can see gaps, air bypasses the filter entirely, carrying dust straight into the blower. Use foam weatherstripping to fill gaps in oversized filter slots.
Some systems use washable electrostatic filters. These can be rinsed with a garden hose, but must dry completely (24 hours minimum) before reinstalling. Keep a spare so you’re never running the system without a filter. For guidance on creating a routine, homeowners can reference seasonal maintenance schedules.
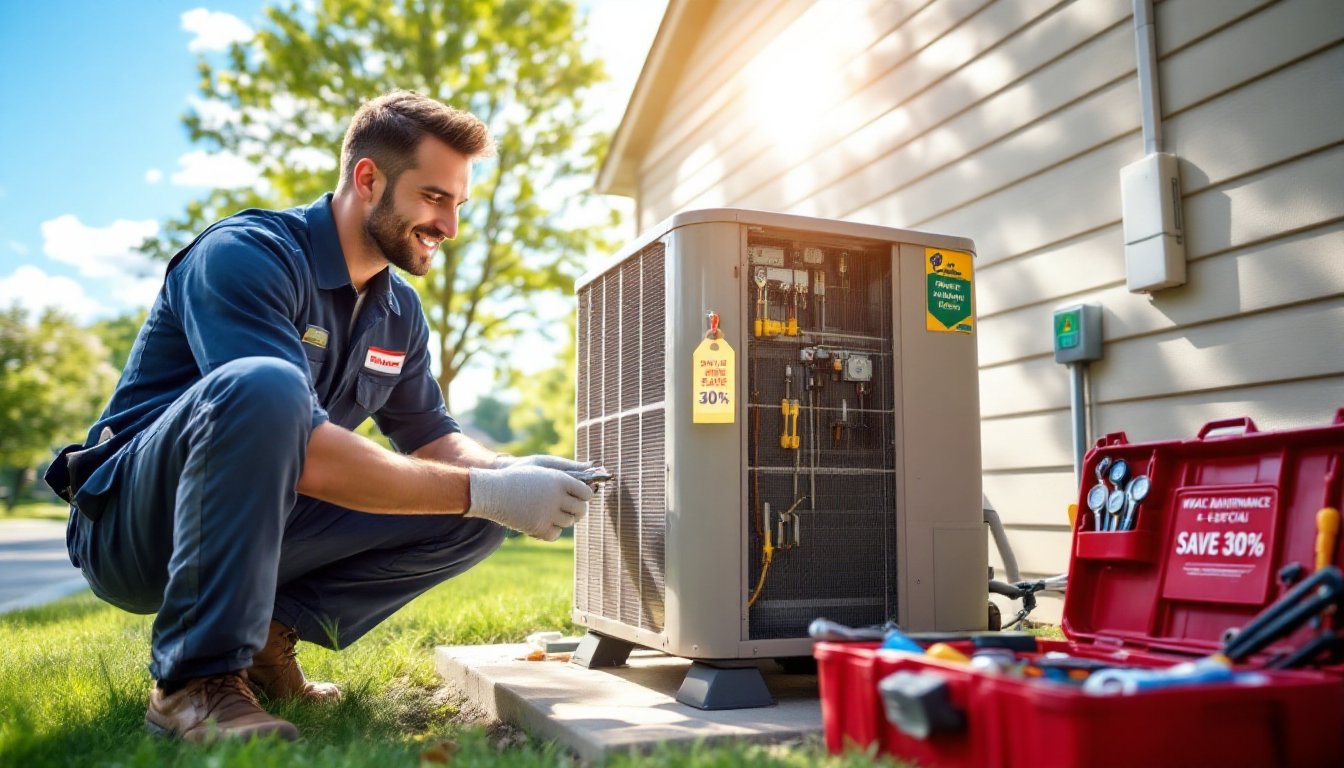
Cleaning Your Outdoor Condenser Unit
The outdoor condenser unit dissipates heat from your home. Clogged fins and debris-packed coils reduce efficiency by 20% or more and force the compressor to run longer, shortening its lifespan.
Cleaning the condenser (do this twice per year, spring and fall):
-
Shut off power at the disconnect box mounted on the wall near the unit. Most have a pull-out fuse block or a switch. If you’re unsure, flip the breaker labeled “AC” or “Heat Pump” at the main panel. Never work on the unit with power connected.
-
Remove the top grille or fan shroud. Most are held by sheet metal screws or spring clips. Lift carefully, the fan is usually attached and wired to the housing. You don’t need to disconnect wiring: just support the fan assembly on a bucket or block.
-
Clear debris from inside the unit. Use a shop vacuum or your hands (with gloves) to pull out leaves, grass clippings, cottonwood seeds, and other debris. Check the base, stuff tends to pack against the coil.
-
Spray the coils from the inside out. Use a garden hose with a spray nozzle (not a pressure washer, it bends fins). Spray from inside the cabinet outward to push dirt off the exterior of the fins. Work your way around the entire unit. For heavy buildup, apply a foaming coil cleaner per product directions, let it sit, then rinse.
-
Straighten bent fins. Condenser fins bend easily and block airflow. A fin comb (a multi-toothed tool matching fin spacing, typically 10-15 fins per inch) can straighten them. Work carefully, fins are sharp and tear easily.
-
Check the pad level. The condenser should sit on a level concrete pad or composite base. If it’s sunk or tilted more than a few degrees, the refrigerant may not return properly to the compressor, and vibration increases. Use a level to check, and shim with composite shims if necessary.
-
Clear vegetation. Maintain at least 24 inches of clearance around the entire unit for proper airflow. Trim back bushes, shrubs, and grass. Don’t stack firewood, lawn equipment, or tarps against the condenser.
-
Reassemble and restore power. Replace the top grille, turn the disconnect back on, and wait 5 minutes before turning on the thermostat. This allows refrigerant pressures to equalize.
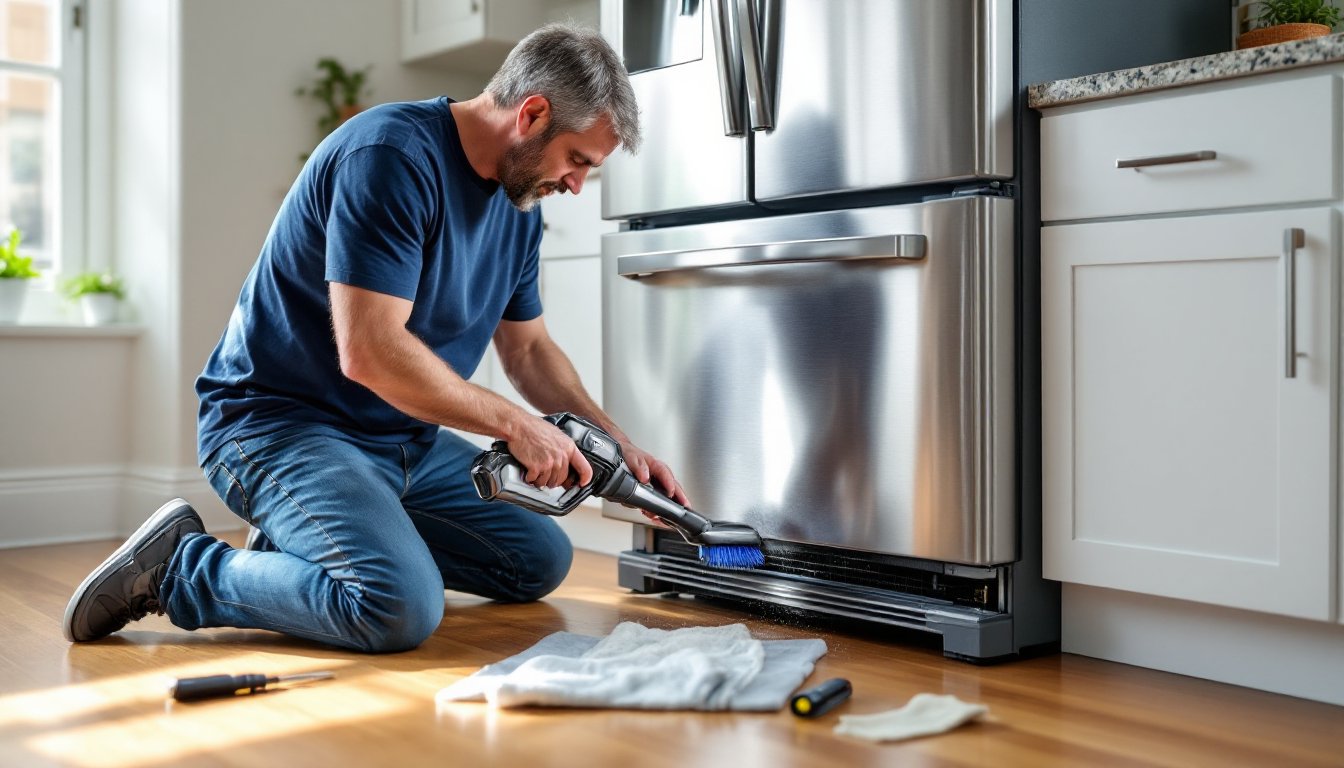
Many homeowners overlook this task, but it’s as critical as an oil change. Experienced DIYers often compare HVAC upkeep to routine appliance care, where consistent attention prevents expensive failures.
Inspecting and Clearing Drain Lines
Air conditioners and heat pumps produce condensation, sometimes several gallons per day in humid climates. That water drains through a PVC or vinyl tube, usually into a floor drain, sump, or outdoors. When the drain clogs, water backs up into the drain pan, triggering a float switch that shuts down the system (if you’re lucky) or overflows into the ceiling (if you’re not).
Drain line maintenance (every 3-6 months during cooling season):
-
Locate the drain line. Follow the PVC pipe from the air handler (the indoor blower unit). The primary drain is typically ¾-inch PVC. There’s often a secondary drain as well, which should terminate somewhere visible, like above a window or sink, to alert you if the primary clogs.
-
Check the drain pan. Remove the access panel on the air handler and inspect the drain pan under the coil with a flashlight. It should be dry or have only a small amount of clear water. Standing water, rust, or algae growth indicates a slow drain or clog forming.
-
Pour vinegar through the cleanout. Most drain lines have a T-fitting with a removable cap near the air handler. Remove the cap and slowly pour 1 cup of distilled white vinegar down the line. Vinegar dissolves algae and biofilm without harming pipes. Let it sit for 30 minutes, then flush with a cup of water. Homeowners managing multiple systems often use structured preventative checklists to stay on schedule.
-
Use a wet/dry vacuum if the line is clogged. If water isn’t draining, attach the vacuum hose to the drain outlet (outside or at the drain termination) and seal the connection with a rag or duct tape. Run the vacuum for 1-2 minutes to pull the clog through. This works for most common clogs caused by algae or sludge.
-
Install condensate drain tablets (optional). These slow-release tablets sit in the drain pan and inhibit algae growth. Drop one in every few months during cooling season. They’re inexpensive insurance against clogs.
-
Inspect the float switch. Most modern systems have an overflow float switch in the drain pan. If the pan fills, the switch cuts power to the system to prevent overflow. Test it annually by slowly pouring water into the pan while the system is running, when the float rises, the system should shut off. If it doesn’t, the switch may be faulty. That’s a safety issue: replace it or call a pro.
Drain line failures are one of the top causes of water damage claims related to HVAC. A little vinegar twice a year is cheap insurance. For help comparing proactive vs. reactive approaches, many resources discuss structured vs. ad-hoc maintenance.
When to Call a Professional HVAC Technician
DIY maintenance handles the majority of routine upkeep, but some tasks require licensing, specialized tools, or technical knowledge that’s beyond most homeowners.
Call a licensed HVAC technician for:
-
Refrigerant issues. Adding, removing, or repairing refrigerant leaks requires EPA Section 608 certification and specialized gauges and recovery equipment. It’s also illegal for homeowners to purchase or handle most refrigerants without certification. If your system is low on refrigerant, it has a leak, find and fix it rather than just topping off.
-
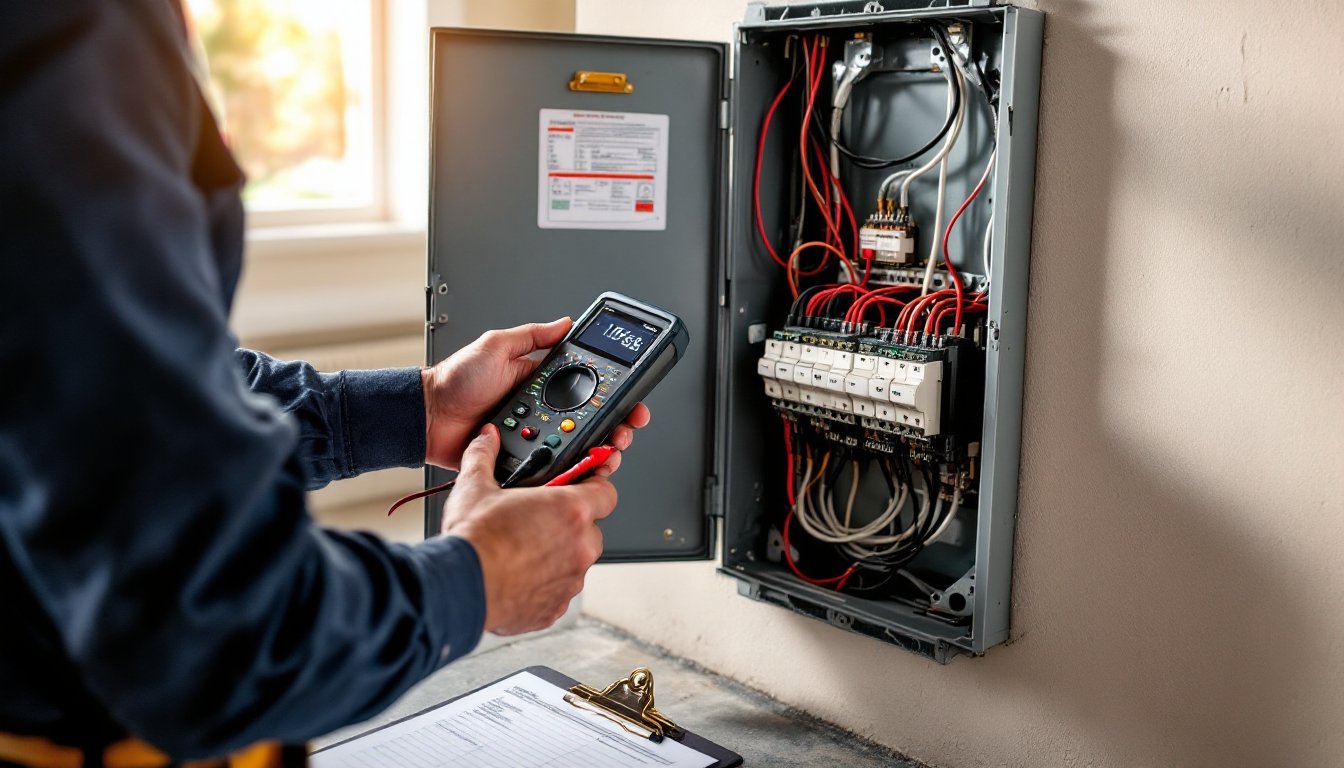
Electrical troubleshooting beyond the disconnect. If the system doesn’t start, check the breaker and disconnect first. Beyond that, testing capacitors, contactors, or wiring inside the unit, hire a pro. HVAC systems run on 240V, and capacitors store lethal voltage even after power is cut.
-
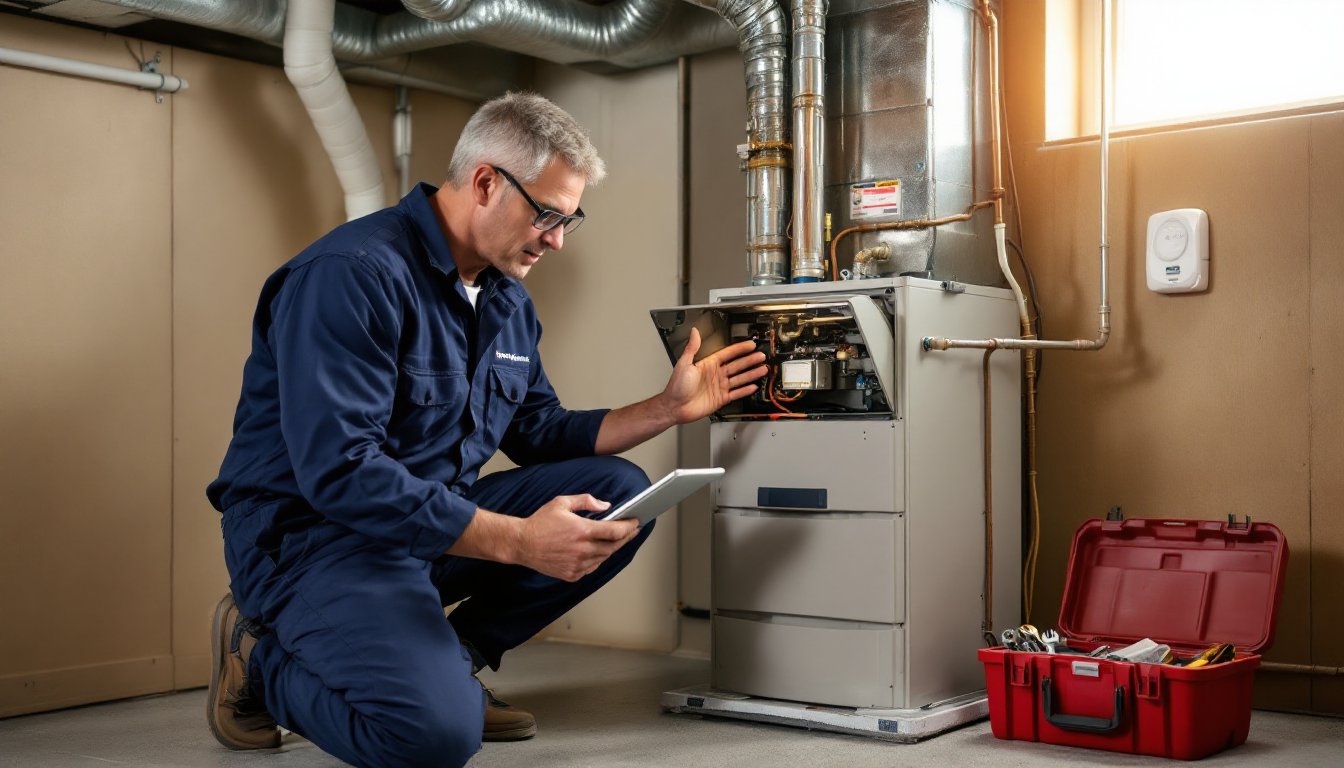
Gas furnace burner or heat exchanger inspection. Cracked heat exchangers can leak carbon monoxide. This isn’t visible without disassembly and a thorough inspection with a camera or combustion analyzer. Gas furnaces should be inspected annually by a licensed technician.
-
Ductwork repairs or modifications. Sealing minor duct leaks at accessible joints is fine. Major duct repairs, sizing, or adding new runs require knowledge of airflow, static pressure, and Manual D calculations to avoid creating imbalances that damage the system.
-
System not heating or cooling properly. If you’ve changed the filter, cleared the drain, and cleaned the condenser but the system still underperforms, there’s likely a component failure (bad capacitor, failing compressor, stuck reversing valve, etc.). Diagnosing these requires gauges, multimeters, and experience.
-
Strange noises or burning smells. Grinding, screeching, or banging from the blower or compressor indicates mechanical failure. Burning smells could mean electrical faults or overheating motors. Shut the system off and call for service immediately.
Annual professional tune-ups are still worth it. Even if you handle all the tasks above, a yearly pro visit (alternating between heating and cooling seasons) catches things DIYers miss: checking refrigerant charge, measuring airflow and static pressure, testing capacitors and contactors, inspecting electrical connections, and verifying combustion efficiency on gas systems. Many contractors offer maintenance plans that include priority service and discounts on repairs. Guides like those from Today’s Homeowner and Family Handyman can supplement your DIY knowledge, while Popular Mechanics covers the tools and tech behind modern systems.
Think of DIY maintenance as the oil changes and tire rotations you do yourself, and the annual pro visit as the full inspection and diagnostic check. Both matter.
Conclusion
DIY HVAC maintenance isn’t glamorous, but it pays off in lower bills, fewer breakdowns, and a system that lasts 15-20 years instead of 10. Set reminders every season: change filters monthly, clean the condenser in spring and fall, flush drain lines before cooling season starts. Keep a log with dates and photos. It takes a couple hours twice a year and saves hundreds, sometimes thousands, in premature replacements and emergency service calls. Your HVAC system is one of the biggest investments in your home. Treat it like one.