Window air conditioners are workhorse appliances. They run for months straight, often in dusty conditions, pulling hot humid air across delicate coils and pushing cool air into living spaces. Most homeowners install them in spring, crank them up all summer, and yank them out in fall without a second thought. That neglect shows up as weak airflow, higher electric bills, and units that die years before they should. A little preventive care, monthly filter swaps, annual coil cleaning, proper winterizing, keeps a window AC running efficiently for a decade or more.
Table of Contents
ToggleKey Takeaways
- Regular window AC maintenance, including monthly filter changes and annual coil cleaning, can double the lifespan of your unit and delay costly $300–$700 replacements for years.
- A clogged air filter reduces airflow by 15–20% and forces your compressor to work harder, directly increasing electricity costs and risking premature failure from heat stress.
- Proper installation with a slight outdoor tilt (about 1/4 inch per 24 inches) and clear drain ports prevents indoor water leaks and keeps window AC running efficiently.
- Seasonal deep cleaning—including drain pan scrubbing, fan blade inspection, and coil maintenance—prevents mold, musty odors, and ensures optimal heat exchange performance.
- Winterize your window AC by cleaning it thoroughly, storing it indoors with a breathable cover when outdoor temps drop below 60°F, and inspecting window gaskets before spring reinstallation.
- Most window AC problems like weak cooling, water leaks, and strange noises stem from neglected filters, blocked drains, or improper installation—all preventable with routine maintenance.
Why Regular Window AC Maintenance Matters
Window AC units operate in a hostile environment. They pull in outdoor pollen, dust, and insects through the rear grille while indoor air carries pet dander, cooking grease, and lint through the front. All that debris accumulates on the evaporator coils, condenser coils, and air filter, forming an insulating layer that forces the compressor to work harder.
A clogged filter alone can reduce airflow by 15–20%, making the unit cycle longer to reach the thermostat setpoint. That extra runtime translates directly to higher electricity costs. Dirty coils are worse: they prevent efficient heat exchange, causing the compressor to overheat and shortening its lifespan. Most window AC compressor failures stem from years of heat stress caused by neglected maintenance.
Beyond energy bills and longevity, dirty units blow allergens and mold spores into living spaces. The condensate drain pan, if left wet and filthy, becomes a breeding ground for mildew. Regular cleaning keeps indoor air quality in check and prevents that musty smell that signals biological growth inside the chassis.
Most manufacturers recommend monthly filter service during peak season and an annual deep clean. Following that schedule can double the effective lifespan of a window unit, delaying a $300–$700 replacement for years.
Essential Monthly Maintenance Tasks
Cleaning and Replacing Your Air Filter
The air filter sits behind the front grille, catching airborne particles before they hit the evaporator coil. Most window units use a washable mesh or foam filter, though some older models have disposable fiberglass media.
Pull the filter once a month during cooling season, more often if the household has pets or if the unit runs in a dusty room. Washable filters rinse clean under warm tap water with a drop of dish soap. Let them air-dry completely before reinstalling: a damp filter invites mold.
Disposable filters should be replaced, not cleaned. Check the model number and order OEM or compatible filters in bulk, they’re cheaper by the six-pack. A clogged filter starves the evaporator of airflow, causing the coil to freeze and the compressor to short-cycle.
Safety note: Unplug the unit before removing the grille. Even low-voltage controls can deliver a shock if wiring is corroded.
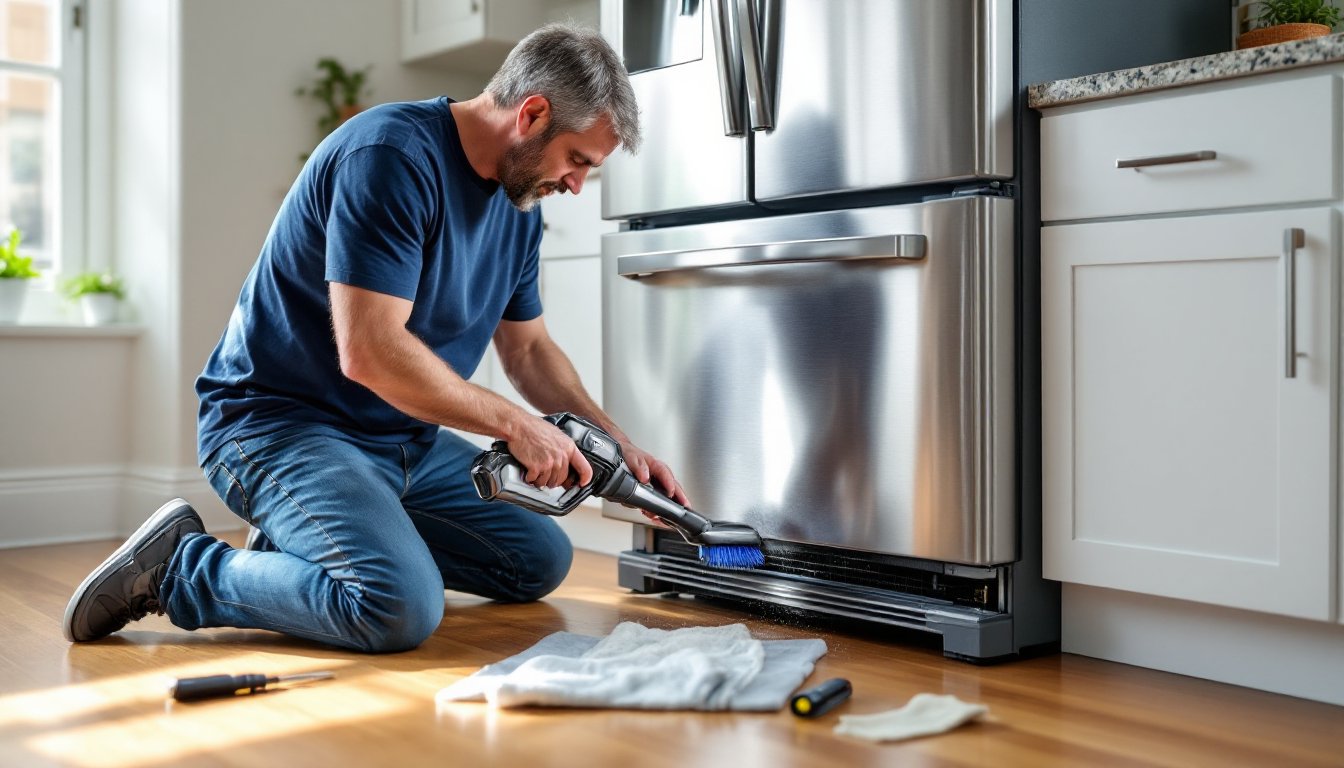
Inspecting and Cleaning the Coils
The evaporator coil (cold side, facing indoors) and condenser coil (hot side, facing outdoors) are thin aluminum fins wrapped around copper tubing. Dust and grime on these fins block airflow and reduce heat transfer.
Once a month, pull the front grille and inspect the evaporator. If you see a gray fuzz or a greasy film, it’s time to clean. Use a soft-bristle brush or a vacuum with a brush attachment to gently sweep the fins. Work vertically, following the fin direction, pushing across the fins can bend them and restrict airflow.
For the condenser coil, remove the unit from the window or access the rear panel if the model allows. Spray the coil with a foaming coil cleaner (available at any HVAC supply or home center). Let it sit for the recommended dwell time, then rinse with a gentle stream from a garden hose. Avoid pressure washers, they’ll flatten fins.
Bent fins can be straightened with a fin comb, a cheap tool available in multiple teeth-per-inch sizes. Match the comb to your coil’s fin spacing (usually 10–15 fins per inch on window units). Straightening fins restores airflow and improves efficiency.
Seasonal Deep Cleaning and Tune-Ups
At the start of cooling season, typically late April or early May, perform a full tear-down clean. This goes beyond monthly filter swaps and coil brushing.
Remove the unit from the window and set it on a workbench or sawhorses. Pull the chassis from the outer cabinet by removing screws along the top and sides. With the chassis exposed, you’ll see the compressor, fan blades, drain pan, and the backside of both coils.
Drain pan: This shallow tray collects condensate. If it’s slimy or has standing water with a smell, scrub it with a diluted bleach solution (1 part bleach to 10 parts water). Rinse thoroughly. Some units have a drain port or weep hole at the rear: make sure it’s clear. A clogged drain causes water to back up and leak indoors.
Fan blades: The blower wheel (evaporator fan) and condenser fan accumulate dust. Wipe them down with a damp rag. If they’re greasy, use a degreaser. Bent or wobbly blades cause vibration and noise, replace damaged fans.
Exterior cabinet: Wash the plastic or metal housing inside and out. Check the accordion side panels (the expandable plastic or foam wings) for cracks. Replace torn panels to prevent hot outdoor air from bypassing the unit and mixing with conditioned air.
Reassemble the unit, reinstall it in the window, and verify the tilt angle. Window ACs should slope slightly toward the outdoors (about 1/4 inch over 24 inches) so condensate drains outside instead of pooling inside. Use a torpedo level to check: shim the rear if needed.
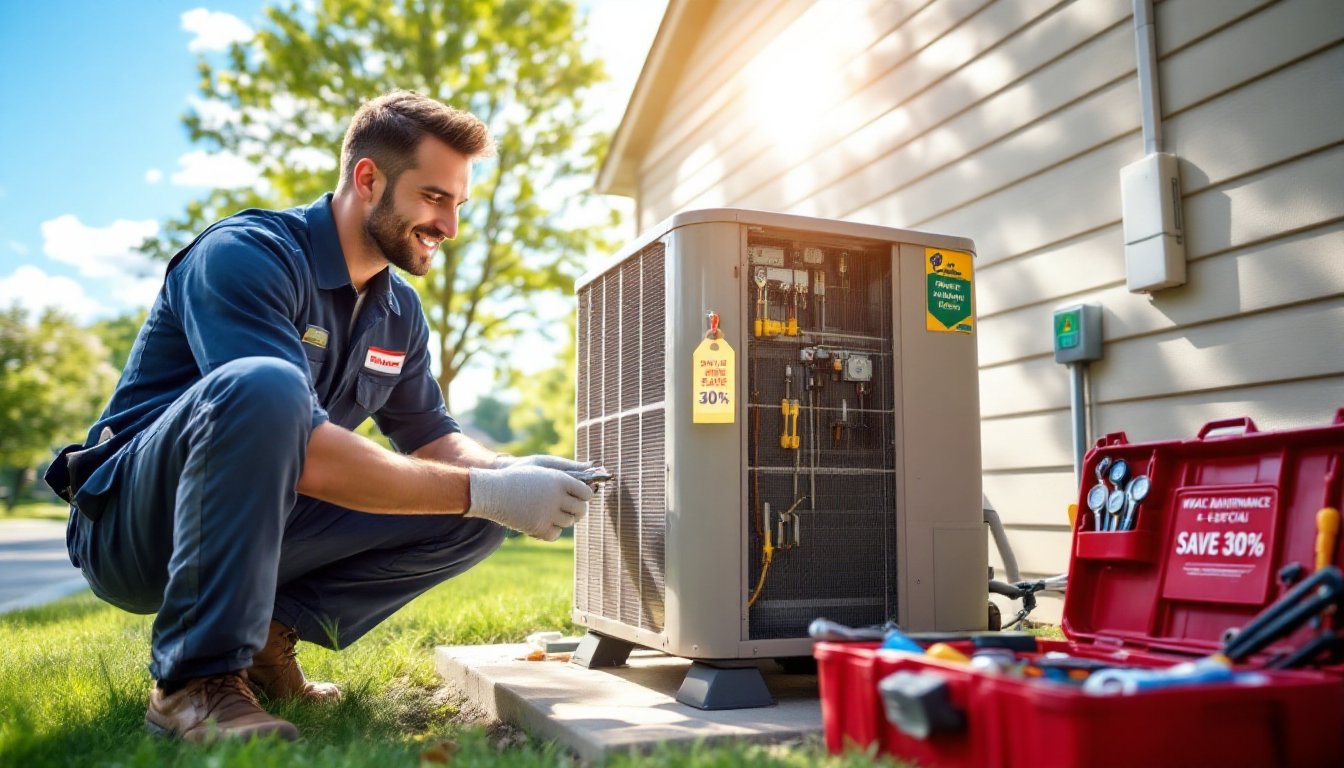
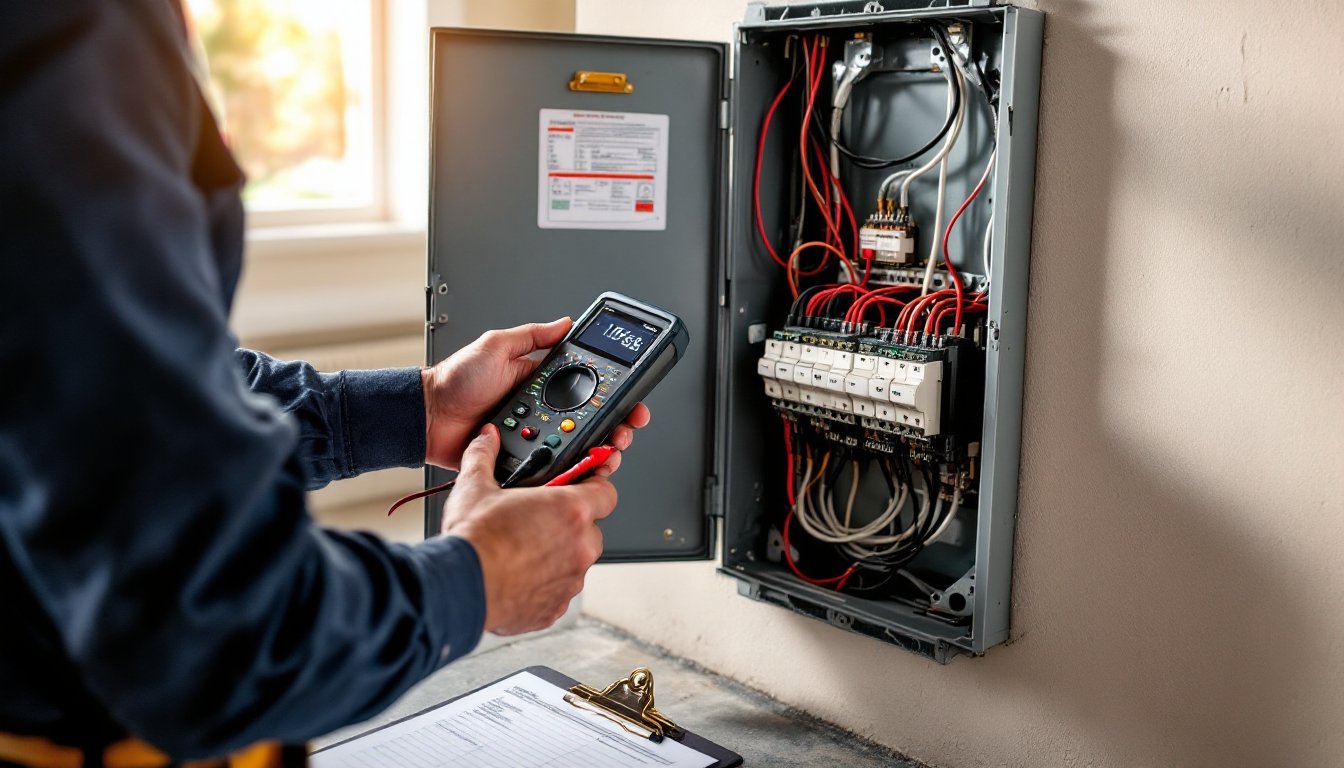
This deep clean is also the time to inspect electrical connections. Look for corroded terminals, frayed wires, or burnt-looking capacitor terminals. If you see damage, consult a technician or replace the unit, electrical faults are a fire risk.
Troubleshooting Common Window AC Problems
Unit runs but doesn’t cool: Check the filter first, it’s clogged 80% of the time. If the filter is clean, inspect the evaporator coil. A frozen coil (visible ice buildup) indicates restricted airflow or low refrigerant. Thaw the coil, clean it, and run the unit on fan-only mode. If it freezes again, call a pro: low refrigerant requires a licensed HVAC tech for EPA-compliant recovery and recharge.
Water leaking indoors: The drain path is blocked, or the unit isn’t tilted properly. Pull the unit, clear the drain port with a pipe cleaner or wire, and adjust the installation angle. A unit that slopes toward the room will always leak.
Loud rattling or buzzing: Loose parts, debris in the fan, or a failing compressor mount. Tighten all screws, inspect the fan blades for damage, and check that the compressor is seated on its rubber grommets. If the compressor itself rattles, the unit is near end-of-life.
Trips the breaker: Window ACs draw 5–15 amps depending on capacity. If the unit is on a shared circuit with other appliances, the combined load may exceed the breaker rating. Move the AC to a dedicated 15- or 20-amp circuit. Nuisance tripping can also signal a failing compressor or a short in the wiring.
Musty smell: Mold or mildew in the drain pan, on the coils, or in the blower housing. Disassemble and clean with the bleach solution described earlier. Run the fan for 10–15 minutes after each cooling cycle to dry out the evaporator, some units have an automatic fan delay feature.
Many homeowners turn to reliable maintenance checklists to track seasonal tasks and catch small problems before they become expensive repairs.
Winterizing and Long-Term Storage Tips
When outdoor temps drop below 60°F consistently, it’s time to shut down the window AC. Running a unit in cold weather can damage the compressor, as refrigerant behaves unpredictably at low ambient temperatures.
Before storage, perform a final cleaning. Remove and wash the filter, wipe down the coils, and empty any standing water from the drain pan. Let the unit air-dry for 24 hours in a warm, ventilated space. Moisture left inside invites corrosion and mold.
If you’re pulling the unit from the window, store it indoors, a basement, garage, or closet. Cover it with a breathable fabric cover or an old sheet. Avoid plastic tarps: they trap condensation. If you’re leaving the unit installed year-round (common in apartments or difficult installations), buy a fitted window AC cover made from weatherproof fabric. These covers insulate the unit and prevent drafts while allowing moisture to escape.
Some homeowners block the front grille with rigid foam board cut to size. This stops cold drafts but doesn’t protect the outdoor side from ice and snow. If you live in a region with harsh winters, removing the unit is the better choice.
Before reinstalling in spring, inspect the window gasket (the foam or rubber seal between the unit and the window frame). Replace cracked or compressed gaskets to maintain an airtight fit. A poor seal wastes energy and lets hot, humid air leak indoors.
Consider tracking smart home maintenance routines to automate reminders for filter changes and seasonal service. Some newer window AC models integrate with home automation systems, sending alerts when filters need attention.
Proper winterizing extends unit life and ensures the AC is ready to run efficiently when temperatures climb again. A well-maintained window unit, stored correctly each fall, can deliver dependable cooling performance for 10–15 years, far exceeding the 5–7 year average for neglected units.