A whole house fan can slash cooling costs by 50–90% during mild weather, but only if it’s running efficiently. Dust buildup, dry bearings, and worn belts can turn a quiet workhorse into a rattling energy hog. Regular maintenance keeps airflow strong, noise down, and the motor running smoothly for 15–20 years or more. Most tasks take less than an hour and require basic hand tools, no HVAC license needed. This guide walks through cleaning, lubrication, seasonal checks, and troubleshooting so homeowners can handle upkeep themselves and know when to call in a pro.
Table of Contents
ToggleKey Takeaways
- Regular whole house fan maintenance can extend service life by 30–40% and cut cooling costs by 50–90% during mild weather.
- Cleaning blades and lubricating bearings twice a year prevents motor burnout, blade warping, and louver damage while keeping noise levels low.
- DIY maintenance tasks like blade cleaning, bearing lubrication, and belt replacement require only basic hand tools and take less than an hour per session.
- Check oil-port bearings for dry rotation and use electric motor oil (SAE 20 non-detergent) exclusively—never 3-in-1 oil or WD-40.
- Seal the attic side of louvers with an insulated cover during winter to prevent conditioned air leakage, since whole house fans are designed for airflow, not insulation.
- Most common problems like excessive noise, reduced airflow, and motor overheating trace back to dirt buildup, dry bearings, or loose hardware that homeowners can diagnose and fix.
Why Regular Whole House Fan Maintenance Matters
Whole house fans move thousands of cubic feet of air per minute through attic vents, and that airflow carries dust, pollen, and insulation fibers straight into the fan assembly. Over a single cooling season, blades can accumulate a quarter-inch layer of grime that disrupts balance, increases motor load, and cuts efficiency by 10–15%.
Negligence shows up fast. Bearings run dry and start squealing. Belt-drive models develop slippage that reduces CFM output. Debris clogs motor vents, causing overheating and tripping thermal breakers. Eventually, a fan that should last two decades fails in eight because minor issues cascaded into major failures.
Routine maintenance prevents three expensive problems: premature motor burnout, cracked or warped blades from imbalance, and louver damage from vibration. Cleaning and lubrication twice a year typically extends service life by 30–40% and keeps the fan as quiet as the day it was installed. Checking for proper home maintenance tasks throughout the year helps ensure no critical systems are overlooked.
Essential Maintenance Tasks Every Homeowner Should Know
Cleaning the Fan Blades and Housing
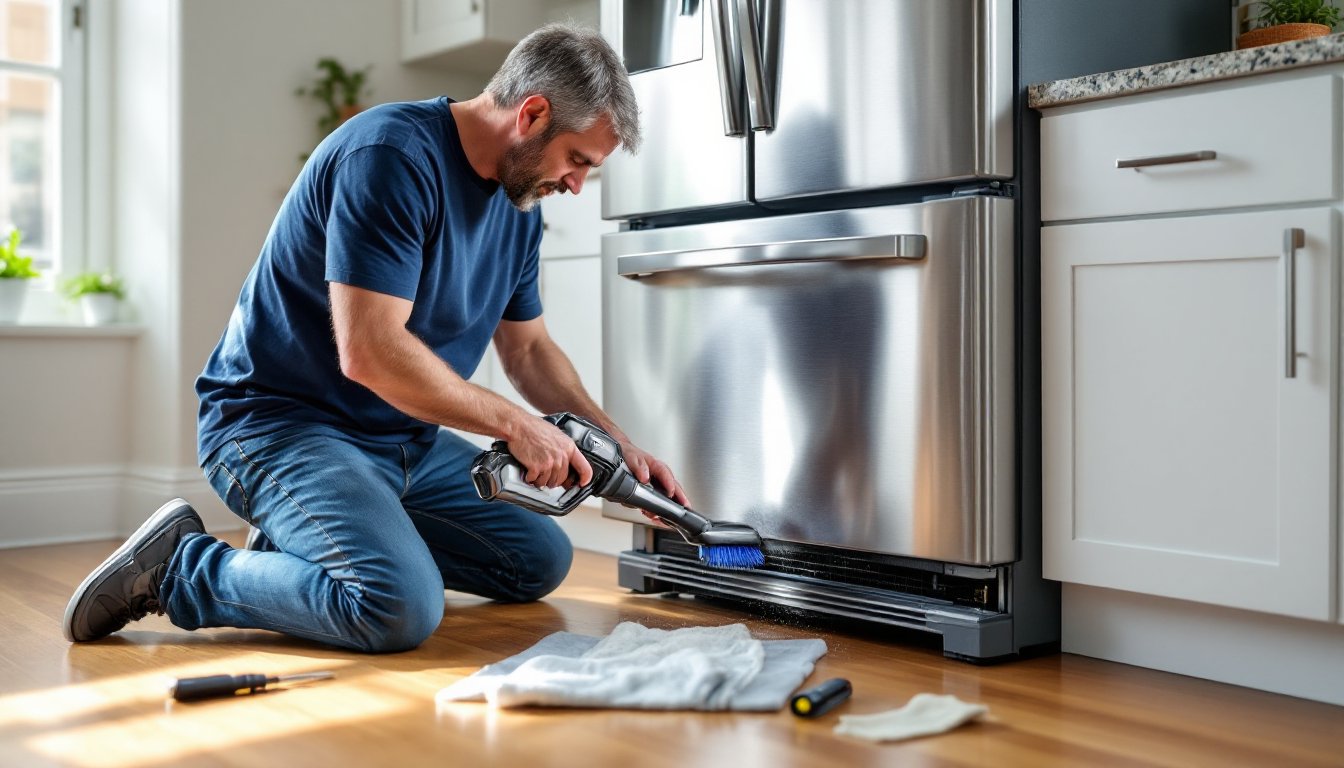
Safety first: Turn off power at the breaker, not just the wall switch. Tag the breaker with painter’s tape so nobody flips it back on mid-job. Wear safety glasses and a dust mask, attic dust is full of fiberglass particles.
Most whole house fans install in a hallway ceiling with a removable louvered shutter or a hinged door. Remove the louvers (usually held by spring clips or a few screws) and set them aside. Direct-drive fans with blade access from below are easiest. Belt-drive models often require attic access to reach the motor housing and pulley.
- Vacuum loose dust from blades, motor housing, and the surrounding joist bays using a shop vac with a brush attachment. Work slowly to avoid bending thin aluminum blades.
- Wipe blades with a damp microfiber cloth and a drop of dish soap. Stubborn buildup comes off with a soft-bristle brush. Dry thoroughly, moisture and metal don’t mix.
- Check the shutter louvers for dust, wasp nests, or paint buildup. Clean both sides and inspect the pivot pins. If louvers stick, they restrict airflow and strain the motor.
- Inspect the motor screen or vent slots for clogs. Use compressed air or a vacuum to clear them. Blocked vents cause overheating.
Clean blades improve balance and reduce vibration. Even a small imbalance at 1,200 RPM creates noticeable wobble and shortens bearing life. If blades are bent, they may need professional straightening or replacement, running a warped blade accelerates wear across the entire assembly.
Lubricating Moving Parts and Checking Bearings
Whole house fans use either sealed bearings (maintenance-free), oilite bushings, or older oil-port bearings that need periodic lubrication. Check the motor label or owner’s manual to confirm type. When in doubt, look for oil ports, small caps or felt pads on the motor end bells.
For oil-port bearings:
- Add 3–5 drops of electric motor oil (SAE 20 non-detergent) per port. Do not use 3-in-1 oil or WD-40, they’re too light and evaporate quickly.
- Rotate the fan by hand to distribute oil through the bearing.
- Wipe away excess to prevent dust buildup.
For belt-drive models:
- Inspect the V-belt for cracks, glazing, or fraying. A worn belt slips under load, reducing CFM and causing squealing.
- Check belt tension by pressing midway between pulleys. It should deflect about ½ inch with firm pressure. Too tight strains bearings: too loose causes slippage.
- If the belt is worn, replace it with the same cross-section (A, B, or 3L are common). Note the length printed on the old belt or measure pulley spacing.
- Apply a drop of oil to the motor shaft bushing if accessible.
Bearing noise diagnosis: Spin the fan by hand. Smooth, quiet rotation is good. Grinding, clicking, or resistance means bearings are dry or damaged. Catching early saves the motor. Homeowners tackling similar projects can benefit from proven strategies outlined in professional repair guides.
Never over-lubricate. Excess oil slings onto blades, attracts dust, and gums up the motor. One annual oiling is enough for most residential fans running 3–4 months per year.
Seasonal Maintenance Schedule for Optimal Performance
Whole house fans see their heaviest use in spring and fall, when outdoor temps drop into the 60s–70s at night. A twice-yearly schedule keeps them ready.
Late spring (before cooling season):
- Clean blades, housing, and louvers as described above.
- Lubricate bearings and check belt tension.
- Test operation: run the fan for 10 minutes on low, then high speed. Listen for vibration, rattling, or motor strain.
- Inspect attic vents and gable openings to ensure adequate exhaust capacity. A whole house fan needs at least 1 square foot of net free vent area per 750 CFM to avoid back-pressure.
- Check louver operation. They should open fully and close flush when the fan stops.
Early fall (end of season):
- Clean blades again. Summer dust and pollen accumulate fast.
- Lubricate bearings for the off-season.
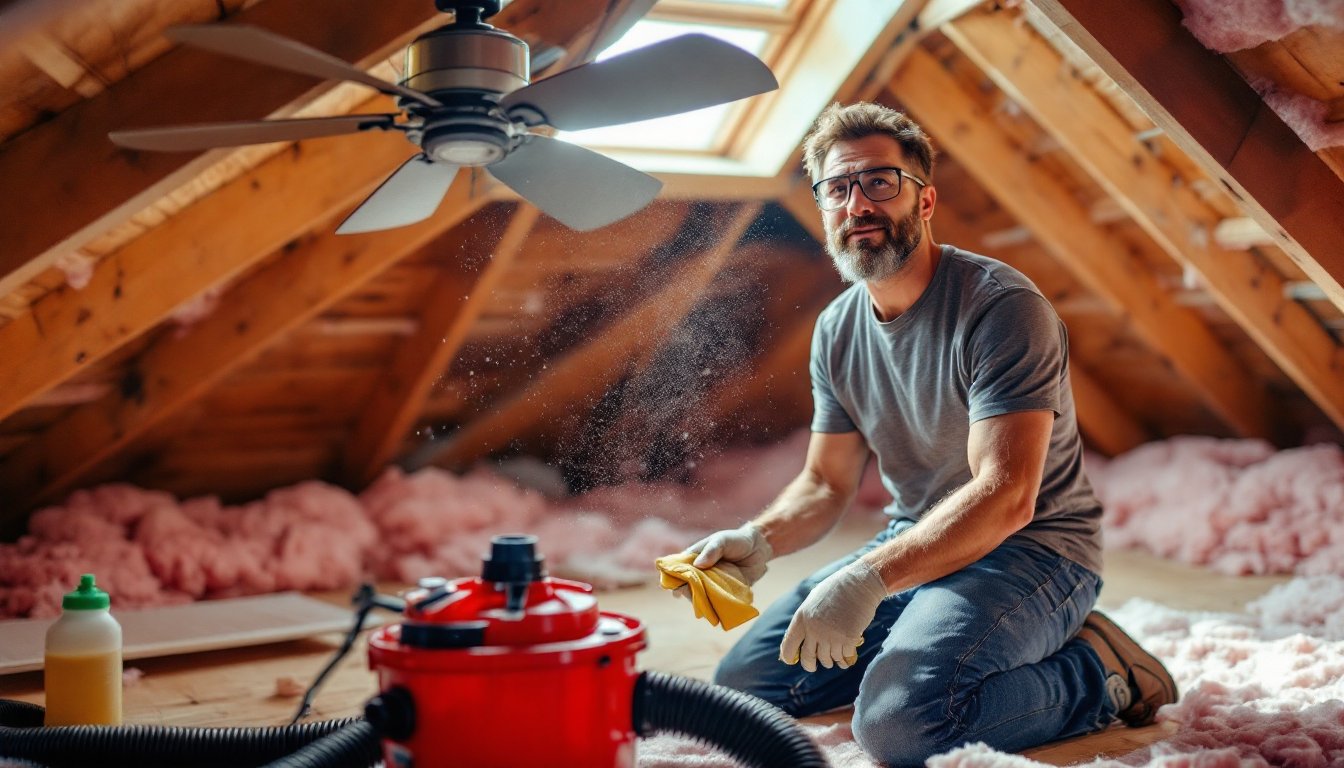
- Close and seal the attic side of the louver with a removable insulated cover or rigid foam panel. Whole house fans are designed for airflow, not insulation, and can leak conditioned air in winter.
- If the fan has a separate shutoff or breaker, turn it off to prevent accidental operation when heating is on.
Mid-season quick check (optional):
If the fan runs nightly for weeks on end, a mid-summer inspection catches problems early. Look for loose mounting bolts, worn belt edges, or unusual noise. Tightening hardware takes five minutes and prevents vibration damage.
Document dates and observations in a simple log, slip of paper taped to the attic rafter works fine. If noise or vibration changes between checks, you’ll have a reference point for troubleshooting.
Troubleshooting Common Whole House Fan Problems
Fan won’t start:
- Check the breaker and wall switch.
- Inspect the motor thermal overload button (usually a red reset button on the motor housing). If it’s tripped, let the motor cool 30 minutes, then press to reset.
- Test the timer or remote control if equipped. Bypass it temporarily by wiring the fan directly to the switch to isolate the problem.
- If the motor hums but doesn’t spin, the start capacitor may be faulty. Replacement is straightforward but involves working with stored electrical charge, discharge the capacitor with an insulated screwdriver across the terminals before touching.
Excessive noise or vibration:
- Confirm all mounting bolts and joist brackets are tight. Loose hardware transmits vibration into framing and amplifies noise.
- Check blade balance. Remove dust buildup and inspect for damage.
- On belt-drive models, check pulley alignment. Misaligned pulleys cause belt flutter and noise.
- Inspect rubber motor mounts or isolators. Cracked or compressed mounts lose damping effectiveness.
Reduced airflow:
- Verify louvers open fully. Sticky or binding louvers choke airflow by 20–30%.
- Check attic vents for obstructions (bird nests, insulation blown against screens).
- Measure belt tension and inspect for slippage on belt-drive fans.
- Confirm the motor is reaching full RPM. A failing capacitor or worn bearings will slow the fan and reduce CFM.
Motor runs hot or smells like burning:
- Shut off power immediately. Let the motor cool completely.
- Check motor vent openings for clogs.
- Confirm the fan isn’t overloaded by excessive back-pressure (inadequate venting).
- If the problem persists, the motor may be failing. Motors are often the most expensive component and may justify replacing the entire fan depending on age. Researching average costs for whole house fan replacement helps with budgeting decisions.
Most issues trace back to dirt, dry bearings, or loose hardware. Methodical inspection usually reveals the culprit without needing a multimeter or HVAC tech.
When to Call a Professional vs. DIY Repairs
Homeowners with basic tool skills can handle cleaning, lubrication, belt replacement, and simple hardware tightening. These tasks require a screwdriver, adjustable wrench, and shop vacuum, no specialized equipment.
DIY-friendly repairs:
- Cleaning blades, housing, and louvers
- Lubricating oil-port bearings
- Replacing worn V-belts
- Tightening mounting bolts and brackets
- Resetting thermal overload buttons
- Replacing start capacitors (if comfortable working with stored charge)
Call a licensed electrician or HVAC tech for:
- Motor replacement or rewiring
- Control board or timer module failures
- Upgrading from a two-speed to variable-speed controller
- Structural modifications (moving the fan, cutting new ceiling or attic openings)
- Fans installed in hard-to-reach locations (cathedral ceilings, truss-web obstructions)
Bearing replacement often sits in a gray zone. Pressed-in bearings require a bearing puller and press, plus careful measurement to source exact replacements. Labor costs for a tech often exceed the price of a new motor assembly, making replacement the smarter move for fans over 12–15 years old.
Permit considerations: Routine maintenance doesn’t require permits. Replacing a motor on the existing bracket usually doesn’t either. Installing a new fan or modifying electrical circuits typically requires a permit and inspection under local building codes. Connecting homeowners with qualified contractors for complex jobs is easier through platforms like Angi, which provide reviews and cost estimates.
If a fan is under warranty, check terms before DIY repairs. Some manufacturers void coverage if anyone other than a licensed contractor services the unit. Keep receipts and documentation for warranty claims.
When in doubt, get a second opinion. A service call for diagnosis costs $75–150 in most markets, cheap insurance against misdiagnosing a problem or making it worse.