Air conditioning failures don’t happen randomly, they happen predictably, usually on the hottest day of summer when repair techs are booked out two weeks. But most AC breakdowns are avoidable with routine maintenance that takes less time than mowing your lawn. A properly maintained system runs 15-20% more efficiently, lasts years longer, and rarely leaves you sweating through a heatwave. Whether you’re a hands-on homeowner or someone who just wants to know what your HVAC contractor should be doing, understanding AC maintenance gives you control over your comfort and your wallet.
Table of Contents
ToggleKey Takeaways
- Regular HVAC AC maintenance improves efficiency by 15-20% and prevents most breakdowns before they happen on the hottest days of summer.
- Check and replace air filters monthly during cooling season, and clean your outdoor condenser unit twice per year to prevent costly repairs and keep your system running smoothly.
- Hire a licensed HVAC technician for refrigerant work, electrical repairs, and ductwork modifications, but handle basic tasks like filter changes and coil rinsing yourself to save money.
- Neglected AC units lose roughly 5% efficiency per year, potentially costing hundreds of dollars in wasted energy over a cooling season.
- Create and follow a seasonal AC maintenance checklist (spring, monthly during cooling season, and fall) to stay consistent and catch small problems before they become expensive breakdowns.
Why Regular AC Maintenance Matters for Your Home
An air conditioner is a mechanical system with moving parts, electrical components, and refrigerant under pressure. Skip maintenance, and efficiency drops fast. Dirty coils force the compressor to work harder. Clogged filters restrict airflow, making the blower motor strain. Low refrigerant levels cause the evaporator coil to freeze.
The numbers tell the story: neglected AC units lose roughly 5% efficiency per year. After three years without service, a system that once cooled your home for $120/month might cost $160 or more. Multiply that over a cooling season, then over the 15-20 year lifespan of the unit, and you’re looking at thousands in wasted energy.
Maintenance also catches small problems before they become expensive ones. A failing capacitor costs $150-$300 to replace during a routine tune-up. If it fails completely, it can take out the compressor, a $1,500-$3,000 repair that often totals the whole system. Regular inspections mean worn parts get replaced on your schedule, not the AC’s.
There’s a comfort factor, too. Well-maintained systems cool more evenly, dehumidify better, and run quieter. You won’t deal with warm spots in the bedroom or that rattling sound that keeps you awake at 2 a.m.
Essential DIY AC Maintenance Tasks You Can Do Yourself
Most homeowners can handle basic AC maintenance with simple tools and an hour of time. These tasks don’t require EPA refrigerant certification, electrical work, or specialized gauges. They just need consistency.
Cleaning and Replacing Your Air Filters
Check filters monthly during cooling season. Standard 1-inch pleated filters (MERV 8-11) should be replaced every 30-90 days depending on household conditions. Homes with pets, smokers, or high dust levels need monthly changes. Filters are cheap, $3-$8 each at big-box stores, so don’t stretch their lifespan.
To replace:
- Shut off the system at the thermostat.
- Locate the filter slot, usually at the return air grille or inside the air handler cabinet.
- Note the airflow direction printed on the filter frame (arrows point toward the blower).
- Slide out the old filter and check for dust buildup. If you can’t see light through it, it’s overdue.
- Insert the new filter with arrows pointing the correct direction.
Reusable electrostatic filters exist, but they require washing and complete drying before reinstallation. Most DIYers find disposable pleated filters easier to manage. Higher MERV ratings (13+) capture more particles but restrict airflow on older systems not designed for them, check your blower motor amperage or stick with MERV 8-11 unless your manual specifies otherwise.
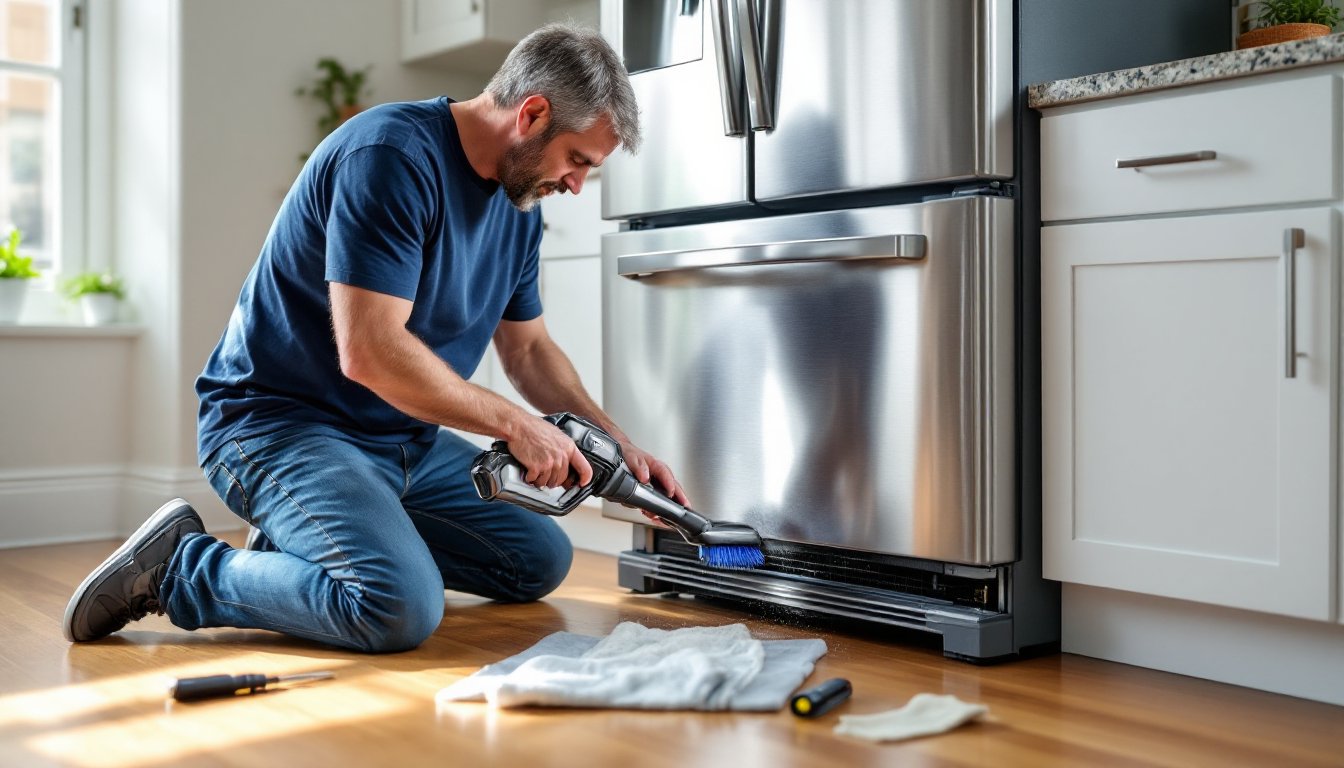
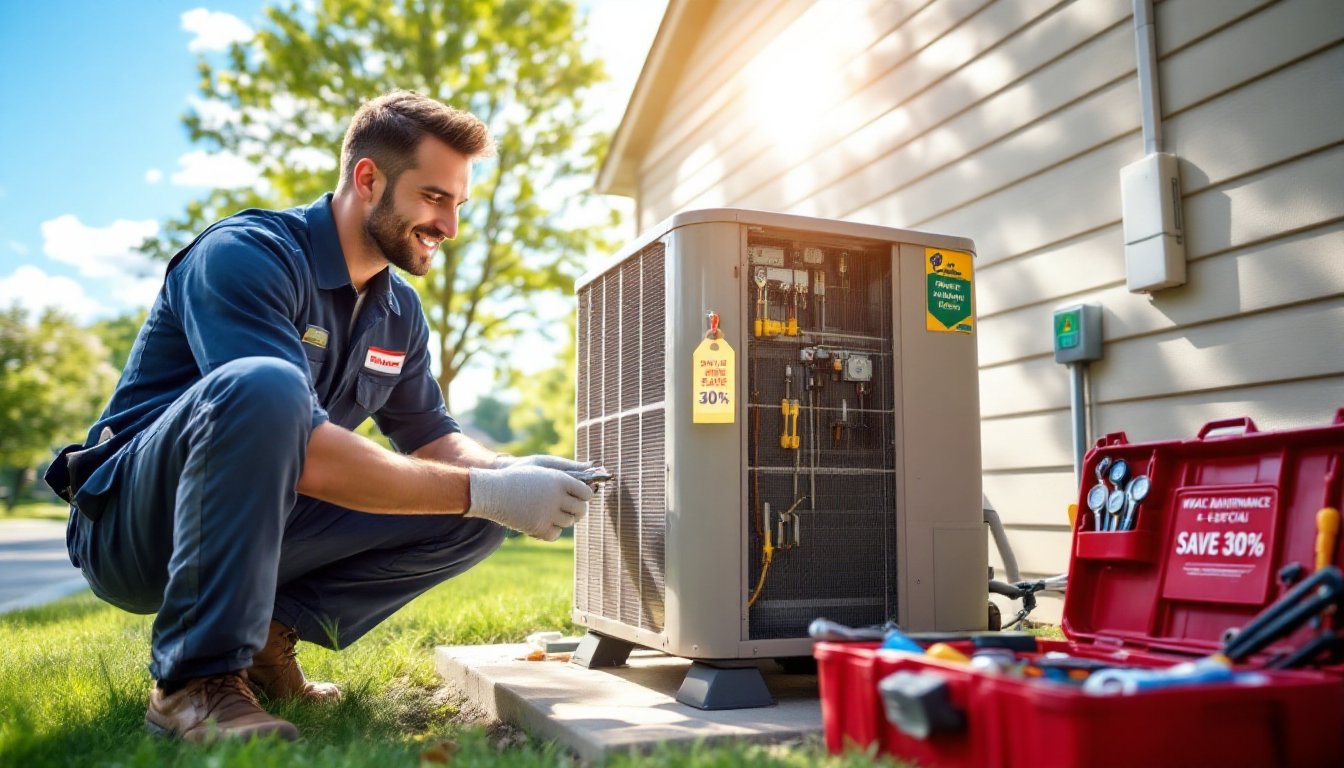
Clearing Debris from Your Outdoor Condenser Unit
The outdoor condenser needs airflow on all sides to reject heat. Leaves, grass clippings, cottonwood seeds, and dryer lint clog the fins, forcing the system to work harder and sometimes triggering high-pressure cutoffs.
Twice per season, inspect and clean:
- Shut off power at the disconnect box near the unit (pull the fuse block or flip the breaker).
- Remove the top grille or fan guard if accessible, usually held by screws or clips.
- Clear leaves and debris from inside the unit and around the base.
- Spray the condenser coils from inside out using a garden hose with a spray nozzle. Don’t use a pressure washer, it bends the thin aluminum fins. Work from top to bottom, rinsing away dirt and pollen.
- Straighten bent fins with a fin comb (about $8 at hardware stores) if needed. Badly bent fins block airflow.
- Trim vegetation back at least 24 inches on all sides. Shrubs and vines restrict airflow and trap moisture.
Check that the unit sits level on its pad. If it’s tilted, water won’t drain properly from the coil. Concrete pads can settle over time, shim with composite or rubber shims, not wood, which rots.
Inside the home, ensure all supply vents are open and unblocked. Homeowners who use structured maintenance approaches report fewer emergency repairs and lower seasonal costs.
When to Call a Professional HVAC Technician
Some AC work requires EPA Section 608 certification (for handling refrigerants), electrical licensing, or specialized tools that cost more than the service call. Know when to stop and dial a pro.
Always hire a licensed HVAC technician for:
- Refrigerant work: Charging, leak repair, or line set replacement requires certification. Releasing refrigerant into the atmosphere is illegal under the Clean Air Act, and improper charging damages compressors.
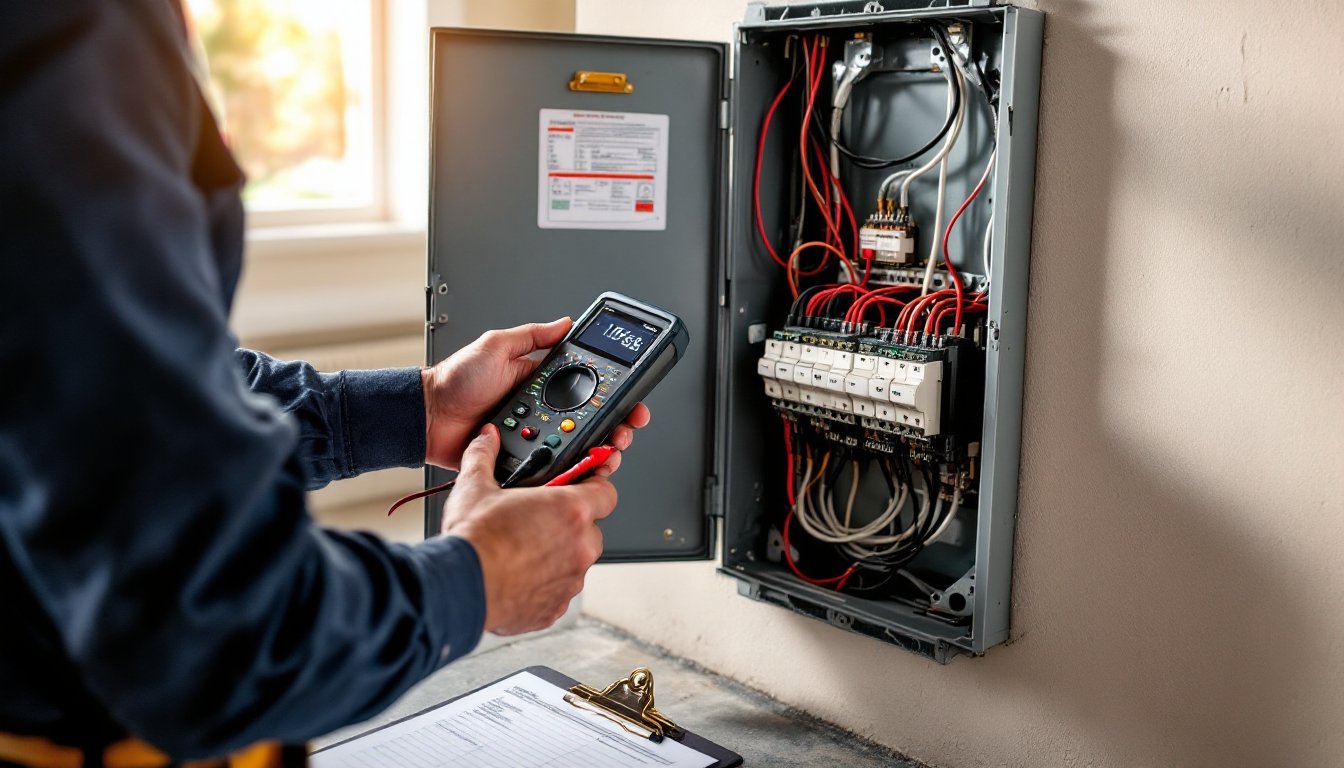
- Electrical component replacement: Capacitors, contactors, and compressor motors involve high voltage (up to 240V). One mistake can be fatal.
- Ductwork modifications: Adding vents, sealing leaks, or balancing airflow affects the entire system’s performance. Undersized or leaky ducts can reduce efficiency by 30%.
- Condensate drain clearing: If the drain line is clogged beyond what a wet/dry vac can clear, or if the evaporator coil needs cleaning, pros have pumps and coil cleaners DIYers shouldn’t use indoors.
- Strange noises or smells: Grinding, squealing, or burning odors signal mechanical or electrical failure. Shut the system down and call immediately.
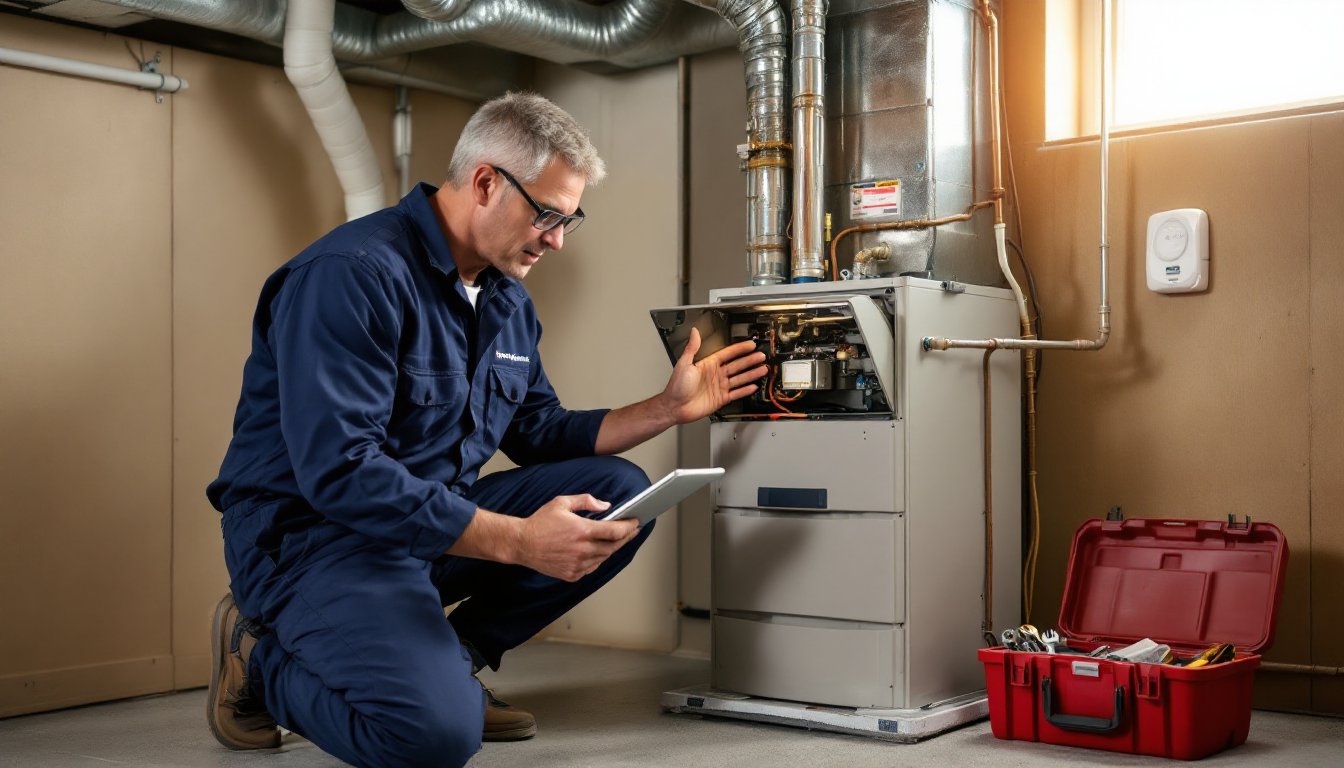
HVAC pros offering maintenance agreements typically include two visits per year (spring for AC, fall for heating) for $100-$200 annually. Services usually cover filter changes, coil cleaning, refrigerant level checks, electrical connection tightening, and blower motor lubrication. Agreements often include priority scheduling and repair discounts. For homeowners who aren’t comfortable with even basic tasks, an agreement is worth it. You can compare costs and local contractor options through resources like HomeAdvisor, which breaks down regional pricing and connects you with vetted technicians.
DIYers should still call a tech annually for a tune-up that includes refrigerant measurement with gauges, amp draw testing on the compressor, and thermostat calibration. These aren’t tasks you can eyeball.
Creating Your Seasonal AC Maintenance Checklist
A maintenance checklist eliminates guesswork and makes sure nothing gets skipped. Adapt this to your system and climate.
Spring (before first heat):
- Replace air filter
- Inspect and clean outdoor condenser coils
- Clear debris from around condenser unit
- Check that condensate drain line flows freely (pour a cup of water into the drain pan and watch it drain)
- Test thermostat operation in cooling mode
- Schedule professional tune-up if not done within the past year
Monthly during cooling season:
- Check/replace air filter
- Walk around outdoor unit and remove any new debris
- Listen for unusual sounds when system runs
Fall (end of cooling season):
- Replace air filter
- Rinse condenser coils one final time
- Cover the top of the outdoor unit with plywood or a condenser cover to keep leaves out (but never wrap the sides, it traps moisture and causes rust)
- Inspect insulation on refrigerant lines for damage
Many homeowners find that keeping a comprehensive home maintenance schedule prevents them from forgetting seasonal tasks and helps budget for annual service calls. Print your checklist, laminate it, and hang it near your HVAC panel or inside the air handler door.
Track service dates, filter changes, and unusual behavior in a notebook or phone app. If you call a tech, you’ll have a history to reference. Patterns matter: if filters clog faster than they should, you might have a duct leak pulling in attic dust.
Safety notes for all tasks:
- Always shut off power before working on any HVAC equipment
- Wear safety glasses when spraying coils or working overhead
- Use gloves when handling dirty filters or cleaning coils
- Never bypass safety switches or disable float switches on the condensate pan
Consider documenting your work with photos. A picture of a clean coil in May helps you gauge how dirty it’s gotten by August. For further guidance on how often various AC services are needed, you can review recommendations tailored to different system types and usage patterns. These resources also cover what to expect during professional visits. For broader home maintenance context, sites like Today’s Homeowner offer seasonal checklists and tool reviews that complement HVAC-specific care.
Conclusion
AC maintenance isn’t glamorous, but it’s one of the highest-return tasks a homeowner can do. An hour of filter changes and coil rinsing each season can add years to your system’s life and cut hundreds off your cooling bills. Handle what you can, hire a pro for what you can’t, and keep a checklist so nothing slips through the cracks. Your future self, sweating through a heat wave while waiting for a repair, will thank you.